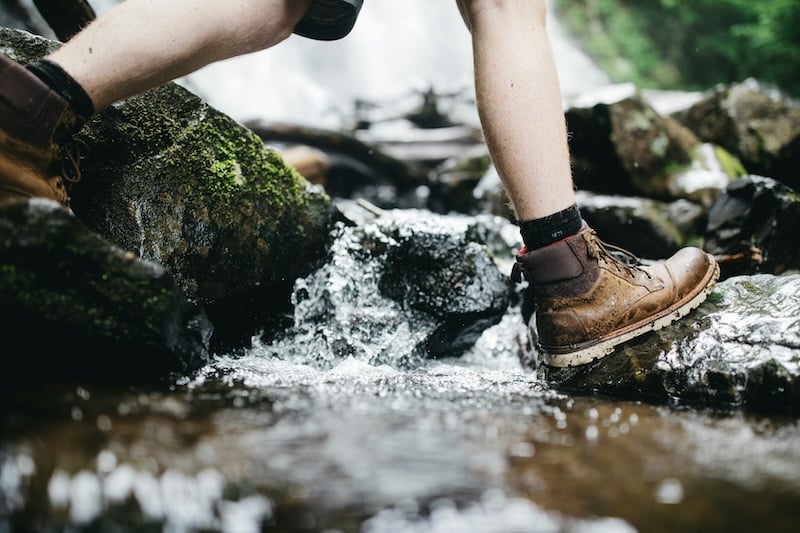
A decent pair of leather hiking boots is often a great investment. Look after them and they’ll see you through many hundreds and, even thousands, of miles of trails, paths, bog, scree and rocky ascents. Neglect them, however, and they can be ruined in a single winter.
UK conditions can be particularly punishing including long damp seasons, peaty ground, wet, snow and thick vegetation, as well as rocky terrains. A boot that thrives in dry Colorado dirt can struggle on the West Highland Way without a proper care routine behind it.
This guide covers the practical side of leather boot care, from cleaning to conditioning, waterproofing and knowing when to hand things to a professional cobbler. The principles travel across brands, from Scottish bootmakers to Thorogood, Justin Boots, or Nicks Boots.
Key takeaways
- Knock off mud and dry boots naturally before doing anything else. Heat is the enemy.
- Match products to leather type. Full-grain leather, suede, and nubuck each need different treatment.
- Conditioning keeps leather supple. Waterproofing keeps the wet out. You need both.
- Re-proof every five to 10 outings in winter. Use the bead-and-roll test to check.
- Send boots to a professional cobbler for resoling and stitched repairs rather than binning them.
Know Your Leather Before You Clean
Not all leather is the same, and treating nubuck like full-grain is a fast way to ruin a pair of boots.
Full-grain leather is the smooth, dense outer layer of the hide. It’s what you’ll find on traditional boots from Thorogood, Justin Boots, OldMulla boots, and Carolina Shoe. It takes wax-based polishing well and responds well to regular conditioning.
Suede and nubuck are different. Nubuck is sanded full-grain leather, while suede comes from the inner split of the hide. Both have a soft, brushed surface and require a soft shoe brush and a dedicated cleaner, not a wet cloth and standard saddle soap.
If unsure, check the manufacturer’s care sheet. Most brands publish guidance for their specific leathers, from Kodiak Boots and Milwaukee Boot Company to Vince Camuto and the house labels at Boot Barn.
The Cleaning Routine
After Every Hike:
Get the mud off while it’s still soft. A damp, soft cotton cloth handles most trail dirt. For caked muck, use a soft shoe brush in small circles, taking care around the stitching.
Don’t dunk the boots and don’t park them by the fire or on a radiator. Stuff them loosely with newspaper or pop in shoe trees, then dry in a cool, well-ventilated room. Heat pulls moisture out of the leather, leaving it brittle.
Deep Cleaning
Every few months, or after a particularly grim weekend on the hills, give boots a proper clean. A waterproof leather cleaner like Straight Cleaner No. 2 or Armstrong’s All Natural Leather Cleaning Kit will lift trail grime without stripping the leather’s natural oils.
For nubuck and suede, skip the liquids. A horse-hair brush plus a dedicated suede cleaner does the job. If the nap looks crushed, rub it gently with a clean rubber eraser to lift the fibres.
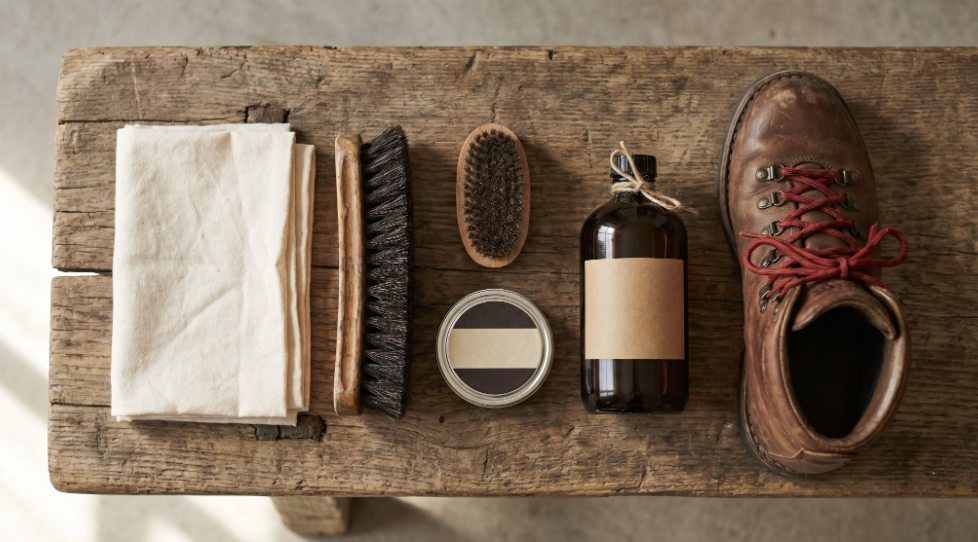
Conditioning to Keep Leather Supple
Conditioned leather flexes. Dry leather cracks. Once boots are clean and fully dry, work in a thin layer of leather conditioner with a soft cloth and let it absorb overnight.
Popular choices include Leather Milk, Boot & Shoe Cream No. 6, Urad leather conditioner, and traditional all-natural boot oil or mink oil. For dressier leather or cracked sections, Leather Milk Healing Balm earns good reviews.
A note of caution: less is more. Heavy applications darken the leather and clog the pores. Oil-based products soften leather, which is brilliant for comfort but enough to reduce ankle support if overdone. Boot cream or saddle soap is gentler if you want to preserve stiffness.
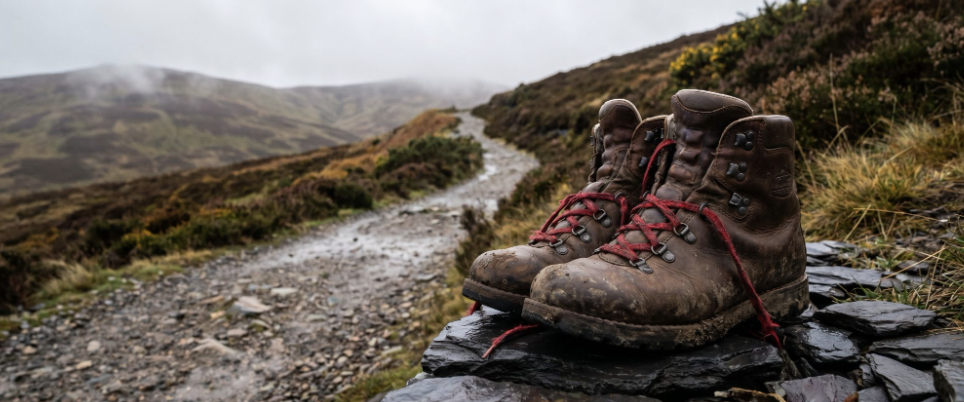
Waterproofing for British Weather
This is where most UK hikers focus their attention, rightly so. Even a well-made leather boot loses its weatherproofing over time as wax wears off and seams flex with every step.
A leather protectant spray works well for nubuck and suede. For full-grain leather, waterproofing creams provide better coverage and a tougher finish. Water Protectant No. 3 is widely stocked, and most cobblers carry brand options behind the counter. Apply a leather protector after conditioning, while the leather is still slightly warm, and buff with a soft cotton cloth.
Re-proof every five to 10 outings in winter, less often in summer. The bead-and-roll test is simple: drip water on a clean section of the boot. If it beads, you’re fine. If it soaks in, it’s time.
Repairs, Patches, and When to Call a Pro
Leather lasts but soles don’t always do so well. Most hikers need a professional cobbler to resole their boots once or twice over the lifetime of the uppers. A good cobbler can also repair scuffs, replace eyelets, and stitch up burst seams, all at a fraction of the cost of new boots.
Don’t reach for shoe goo or super glue on cracked leather. They might hold for a hike, but they ruin any chance of a proper repair. Same for sole separations: get them stitched, not glued.
For hikers who like to personalise their kit, leather patches add character to packs, hat bands, and well-loved jackets. I had a friend order customised leather patches made by Monterey Company with their hiking club logo, and they ended up being a great addition to my boot repair kit. Leather patches are treated similarly to boots. Treat them with the same conditioner you’d use on your boots, and they’ll age in alongside the rest of your gear.
Storing Boots Between Hikes
Cool, dry, dark. Shoe trees hold the shape and absorb moisture. Never store boots in plastic, since leather needs to breathe. A cotton dust bag works for longer storage.
Looked after properly, leather boots improve with age. Mud marks fade, conditioner softens the surface, and the boots stop looking new and start looking like yours. With proper care and storage. Your boots can live on your feet for decades.